Making the decision to start eating “clean” wasn’t one I made lightly — I gave consideration to the foods I already have in my pantry and knew I didn’t want to throw anything away without cause, and I also started thinking about the cost going forward. Being on a fairly limited budget, creativity will be key. Luckily, I’ve become quite fond of the bulk foods aisles at my favorite grocery stores.
Another thing I was trying to be conscious of was my tendency to try to take on too many new recipes and goals at one time — often leading to frustration and a full garbage can of things that didn’t come out as I had hoped or expected. So this time around, I wanted to start with one new staple recipe. Once I’ve fully incorporated that into my routine, I will try something else.
Since dairy is one of the things that I’ve noticed that I’ve become more sensitive to lately, this homemade almond milk seemed a fitting place to start. While it may seem like an overwhelming and inconvenient thing to make on my own — I’ve actually found this version to be creamier and tastier than anything I’ve tried out of a “tetrapak”. While I haven’t given up cheese entirely, or a splash of milk in my coffee some mornings, I have started to reach for this more than anything else. It’s a keeper.
Almond Milk
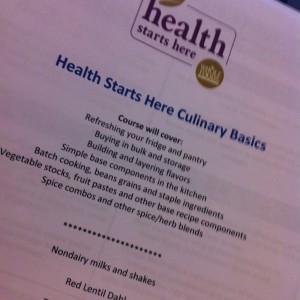
From: Whole Foods Market Healthy Cooking Class with Chad Sarno
Makes: 4 – 6 cups
Prep time: 5 – 10 minutes, plus soaking time for the almonds
Ingredients:
1 cup raw, whole almonds, soaked (please see note)
4 -6 cups cold water, filtered
1 tsp vanilla extract, optional
1 tsp date paste, optional
Directions:
Place the soaked almonds in your blender. Cover with the cold, filtered water. Add the vanilla and / or date paste –for sweetness — if desired.
Blend on high until almonds are fully pulverized.
Line a strainer or sieve with cheesecloth and pour the milk through, into a pitcher. Once all the liquid has passed through, carefully gather up the edges of the cheesecloth and squeeze remaining liquid through the strainer into the pitcher.
Promptly store in your fridge. The milk should be used within 2 – 3 days — just make sure to give it a quick stir before using.
Any amount you won’t use right away can be frozen. I highly recommend the medium Ziploc “twist & lock” containers for this, they are easy to stack and stay pretty well sealed. Just be sure to leave some room at the top to allow for expansion — and make sure to use within 1 – 2 months after freezing.
Additional notes:
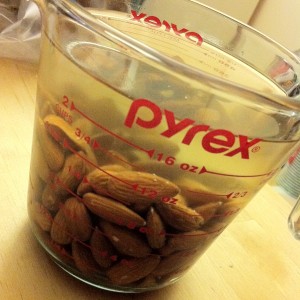
The biggest key to making this work is the soaked almonds. To best soak the almonds, place them in a bowl or large measuring cup — my 2-cup Pyrex measuring cup works great. Cover with cold, filtered water and place in your fridge for at least 12 hours.
I prefer to soak them for 2 days, rinsing them every 12 hours or so and replacing the water. Just remember, the softer the nuts — the easier the blending.
I’m not a big fan of waste, so I’ve been “dehydrating” the leftover almond pulp to use as almond meal in other recipes — like Elizabeth’s Paleo Crunch.
To do this, I simply spread the pulp out on a cookie sheet and let dry out in my oven — on the lowest temperature — for 1 – 2 hours.
What is your favorite whole food staple? Any favorite recipe?


emmysteele
/ May 31, 2012I had no idea the process for making almond milk was so simple!